
SAP Factory Calendar: T-Code-OY05/SCAL
For effective planning and scheduling it is very important that a calendar exists in the SAP ERP system. Factory calendar creation consists of three steps,
1. Define public holidays.
2. Create a holiday calendar by assigning the public and national holidays.
3. Finally create a factory calendar and the holiday calendar then gets assigned to the factory calendar.
You can assign a factory calendar during creation of the plant-OX10.
Step 1: Public Holiday.
spro-sap reference img-sap customizing implementation guide-sap netweaver-general settings-maintain calendar-OY05.
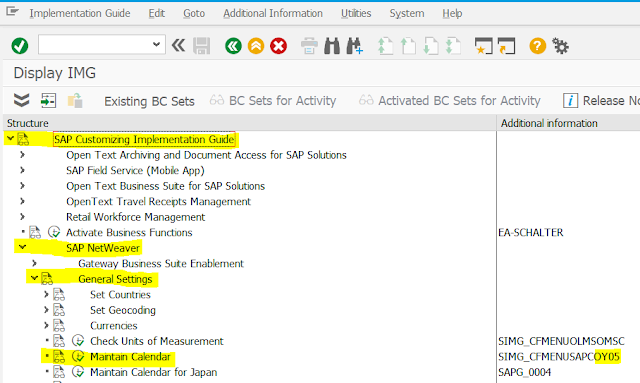
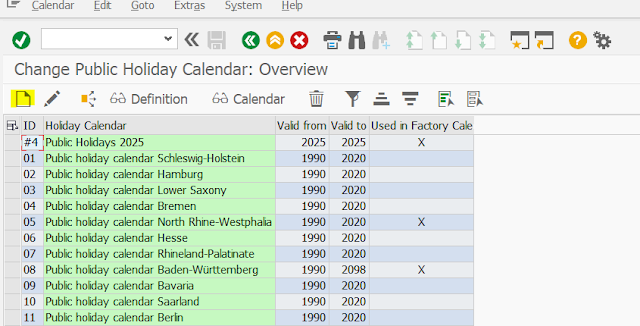
Start by clicking on the maintain calendar option an this will open relevant interface,
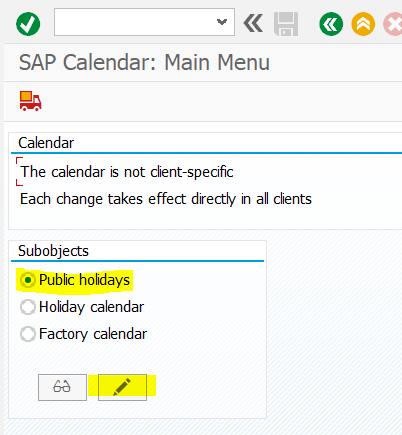
There are three options are there in the image, public holidays, holiday calendar and factory calendar and we need to create public holidays first, so please select the public holidays.
Next, click on “Change Mode” shows like pencil icon to create new public holidays with fixed dates.
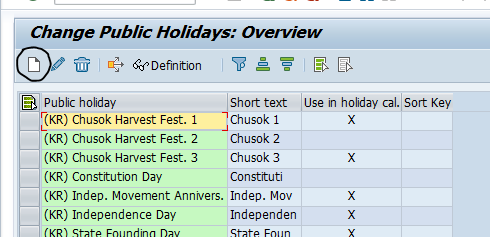
Click the paper like icon as shown in the image and its called as create new.
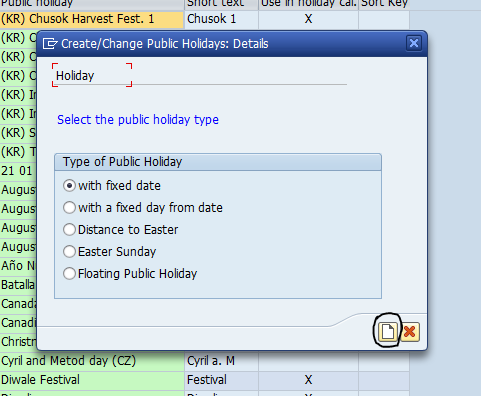
A new interface will appear and choose with fixed date and then click the create new button as shown in the image.
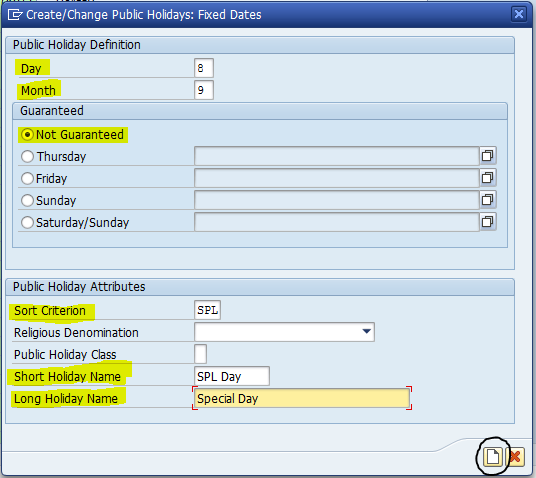
A new screen will appear and need to fill the required fields.
Day : 8
Month : 9
Mark Not Guaranteed
Sort Criterion : SPL
Short Holiday Name : SPL Day
Long Holiday Name : Special day
Select the “New” button, as highlighted in your interface.
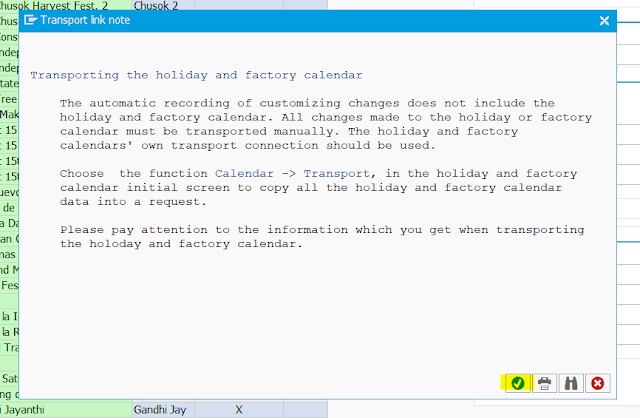
After that, click “Continue” to proceed.
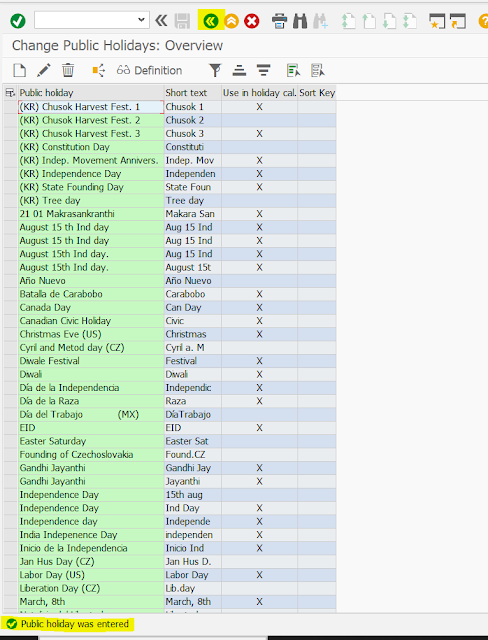
Use the find feature by pressing Ctrl + F, and search for “SPL Day” which you previously created. This should display the created entry.
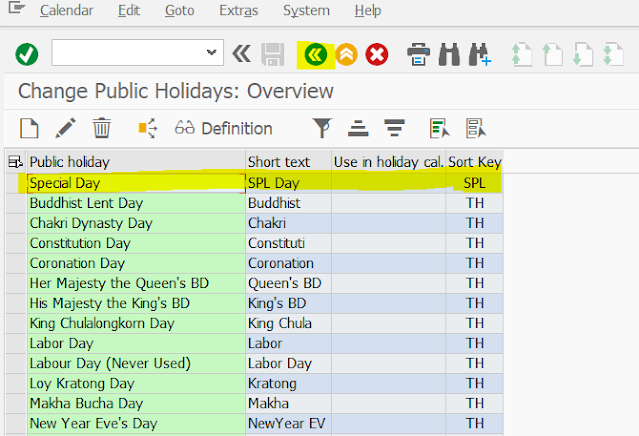
Now special day is displaying that what we created.
SPL Day – SPL Day created as Public holiday.
Step 2: Holiday Calendar
Once saved, click on the back button to return to the previous screen.

Select the “Holiday Calendar” and again click on “Change Mode.”
To create a new holiday, click “New.” A new interface will appear. Fill in all required fields as demonstrated in the below provided image.
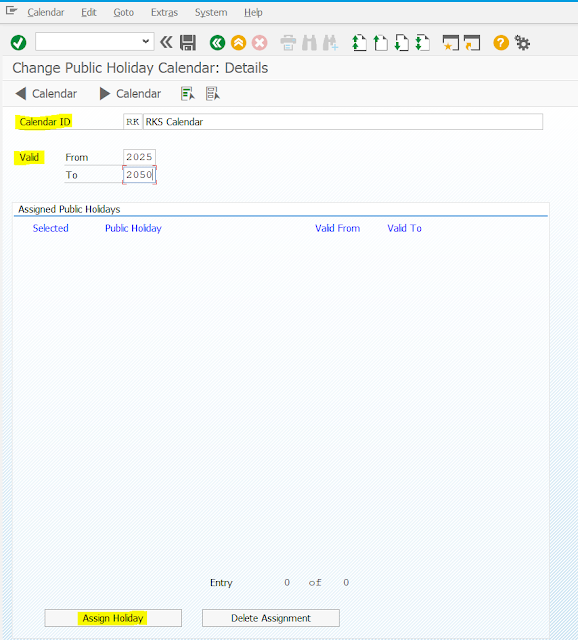
Calendar ID : RK RKS Calendar
Valid From : 2025
To : 2030
Now, click on “Assign Holiday” to move to the next interface.
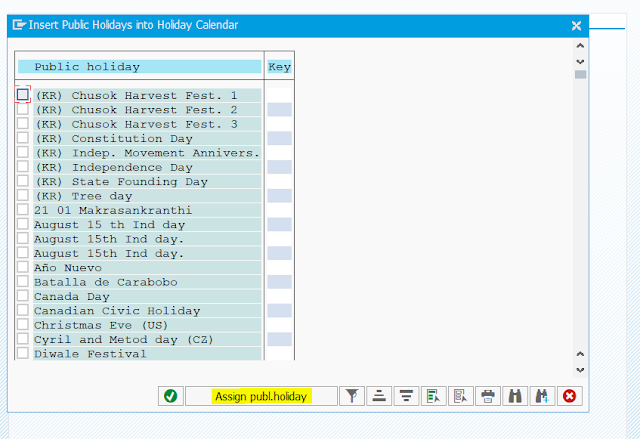
From here, select some of the public holidays, including the newly created “SPL Day,” and then click on “Assign Public Holiday” as indicated.
The list shows the list of public holidays we selected in public holiday calendar. This means we are creating a holiday calendar and that calendar consists of the these public holidays. We are assigning the needed public holidays based on the organisation to the holiday calendar.
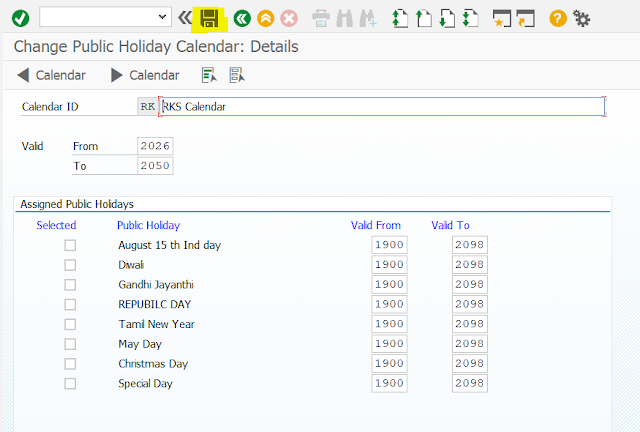
After assigning the holidays, remember to click the “Save” button to ensure your changes are preserved.
Navigate back to check your updates; the interface will refresh.
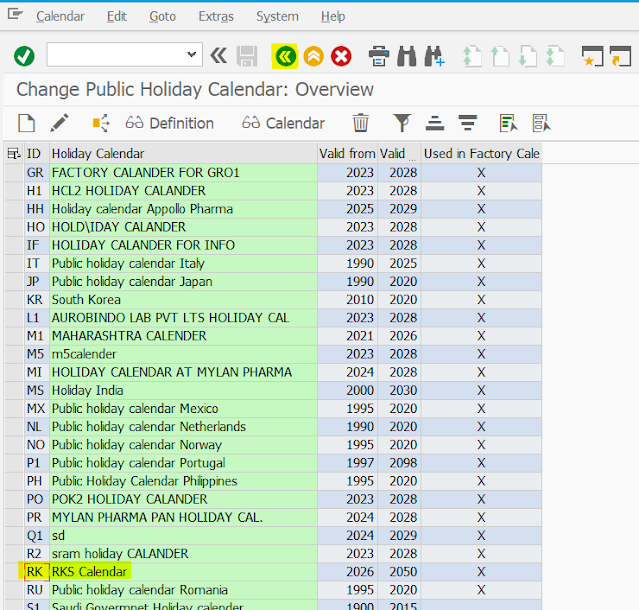
Now, click the “Find” button and search for “RK.” You should see the “RK – RKS Calendar” which you have established as your holiday calendar.
RK – RKS Calendar created as Holiday calendar.
You may interest to create or configure a Company in SPRO.
Step 3: Factory Calendar
So, initially defined the public holidays and already public holidays defined in the sap system. So both public holidays assigned to the holiday calendar. Now, we are going to create factory calendar.
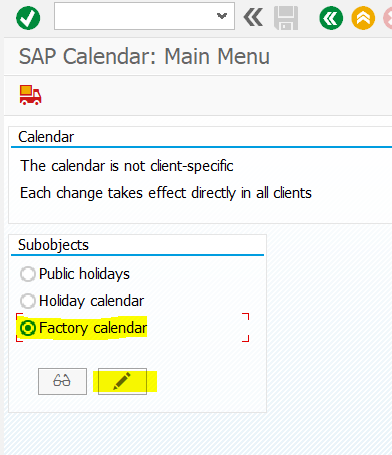
Select the holiday calendar and click on the change mode as shown in the image.
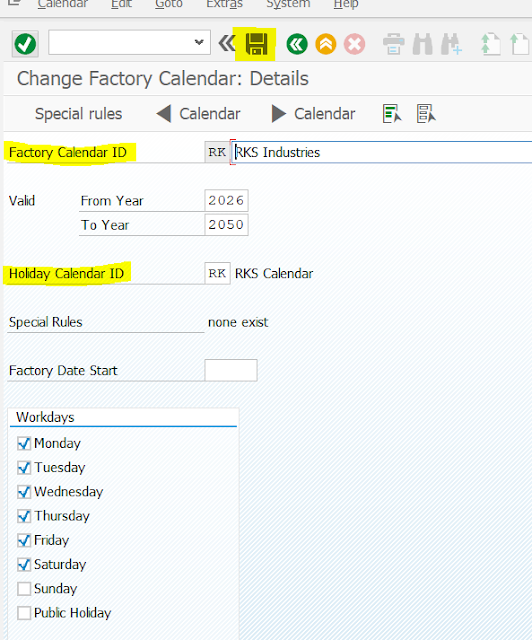
Factory Calendar ID : RK RKS Industries
Valid From : 2026
To : 2030
Holiday Calendar Id : RK RKS Calendar.
Choose the workdays based on the nature of the organization. Here for a practice session i choose Monday to Saturday. 6 workdays per week.
Select the workdays that correspond with it, then click the “Save” button.
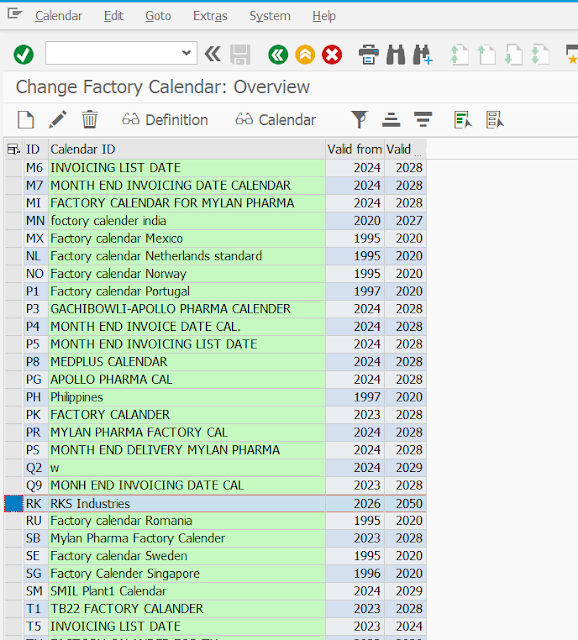
Table of Contents
Finally, click the back button and use the “Find” feature to select “RK” once more to verify everything is in order.
The calendar can be assigned while define your plant.